No step by step here showing you how t0 draw Marcelo Bielsa, there’s nothing worthwhile explaining here about my thought process, development, or realising I should probably take out the (fuck) etc. I liked the (fuck), but it kept being flagged.
So no (fuck).
I could detail my reasonings but it’s just going to bring terrible memories of art school back. It’s just a deliberately grizzled portait of Marcelo Bielsa with ¡FUCK! emblazaned across his chest in Spanish. Nothing more, nothing less.
BUT. There is value in the document setup. A lot of those who ask me for help end up making stuff that’s nowhere close to being actually printable, purely because of the document setup. This example is an absurdly large resolution, with a high DPI. But these choices mean I have a lot of flexibilty in printing. Scaling down is fine, scaling up simply sucks (fuck). It also means being able to print at A1, which is nice.
Setup:
Tablet: iPad Pro 12.9” 2019 App: Clip Studio Paint Resolution: 7000 x 10000 pixels DPI: 600
Colour profile: sRGB
7000 x 10000 pixels is the document size reccommended by the maker of the pencil brush I used to ensure full fidelity. I later cropped it to 7016 x 9921, as in A3 at 600 DPI.
This was done entirely on an iPad in Clip Studio Paint, no other apps, no colour colour correction in Photoshop. No texture addition. Just straight start to finish on the iPad. As long as you have the document setup correctly I really don’t see why you couldn’t draw a better Bielsa than me. Just look at how rough the initial stages were, never give up, follow your dreams etc.
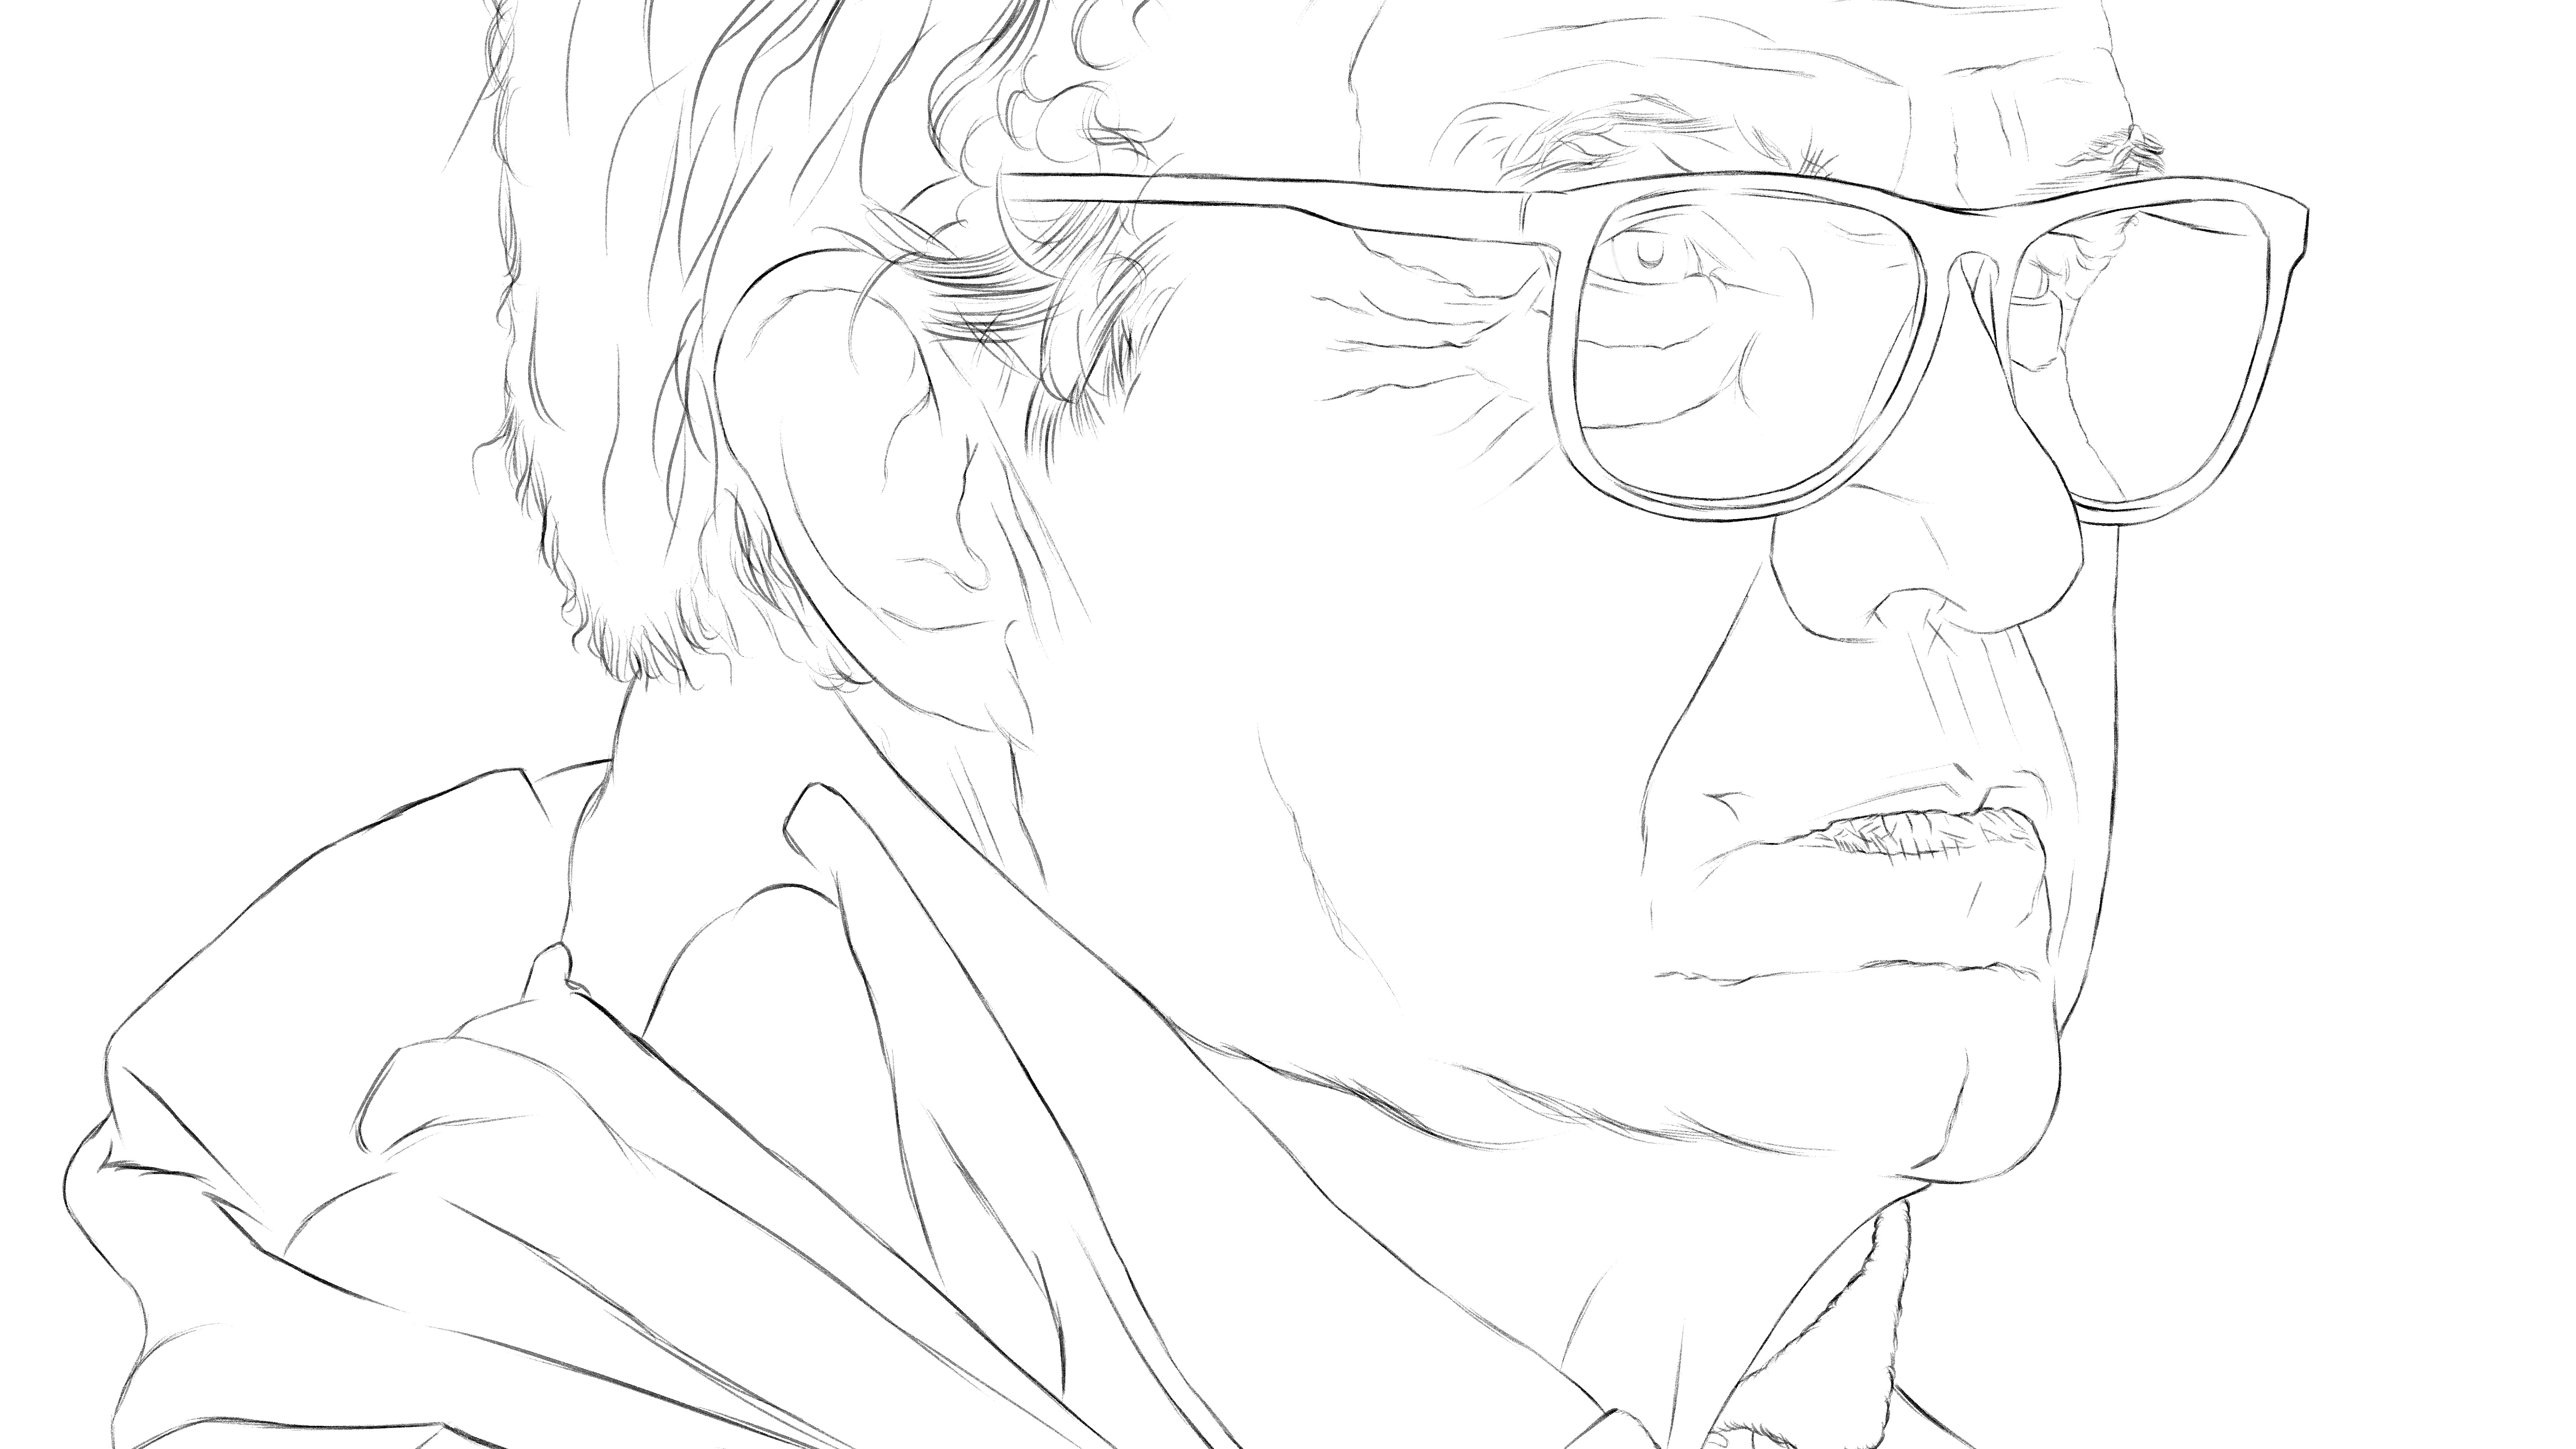
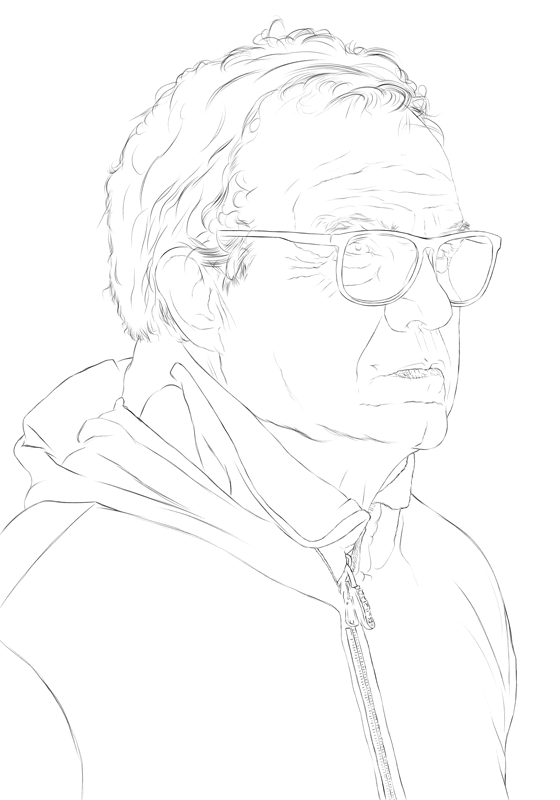
Lines.
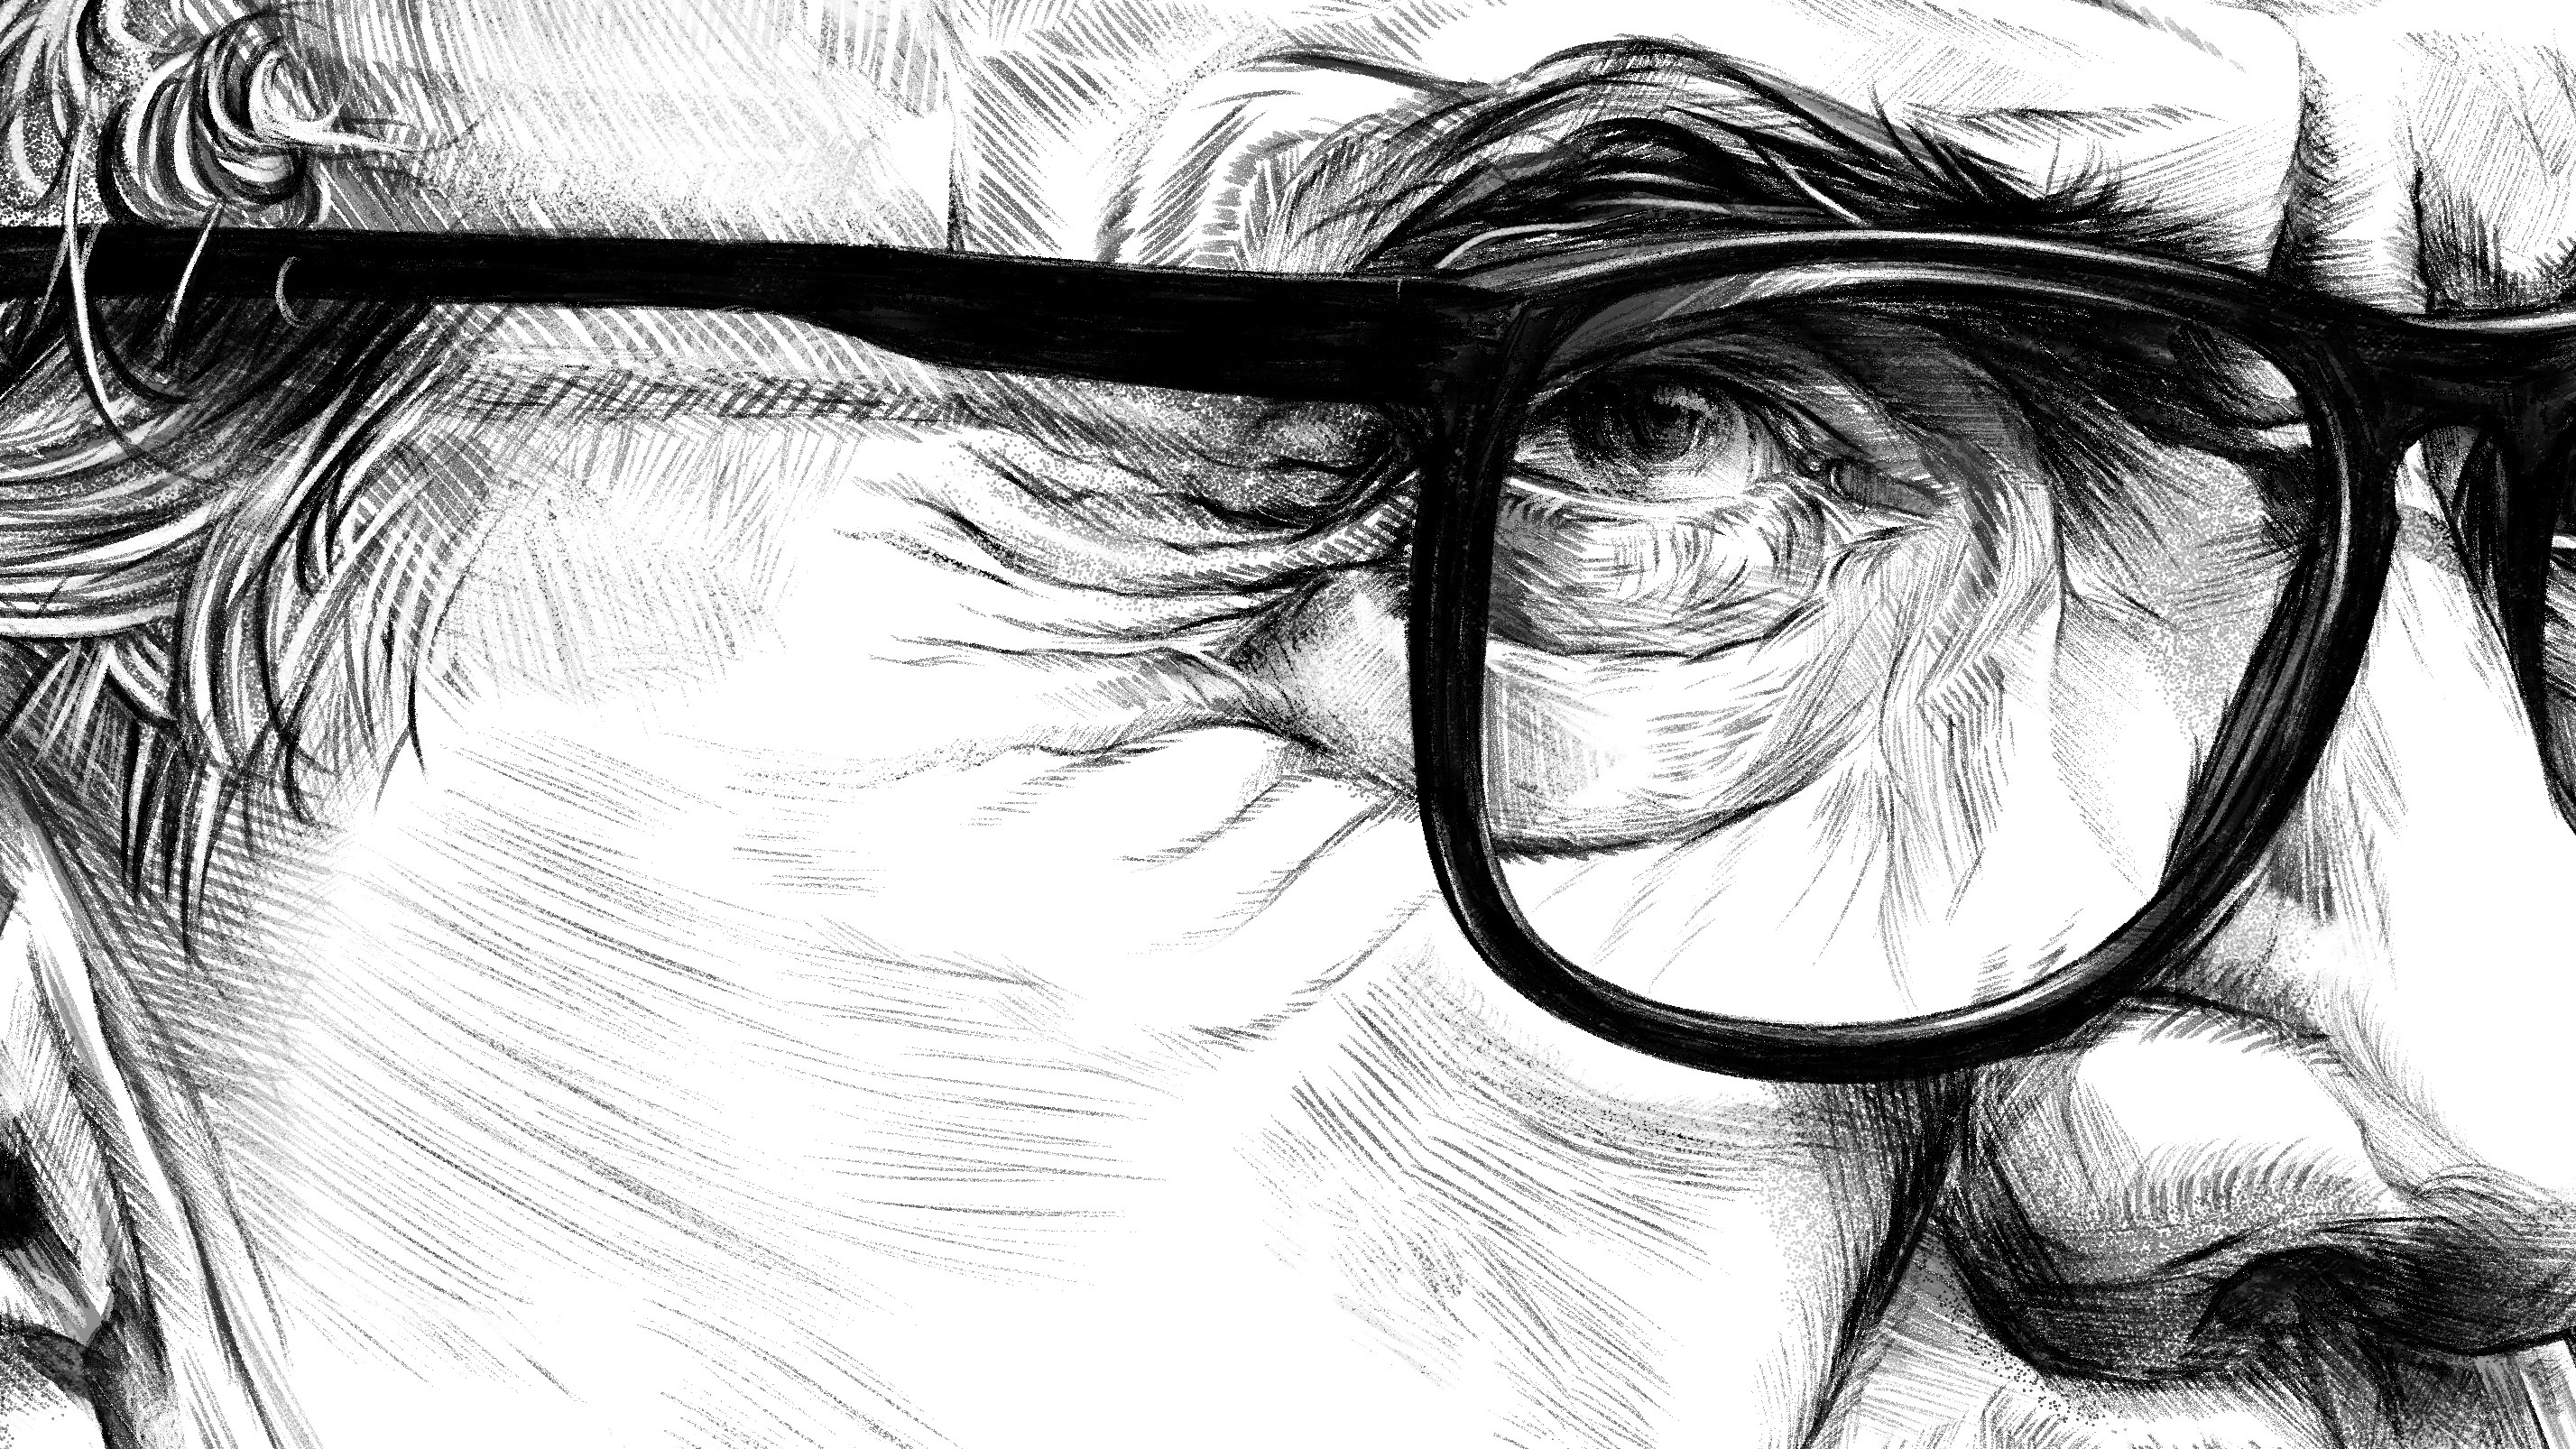
Initial Stages.
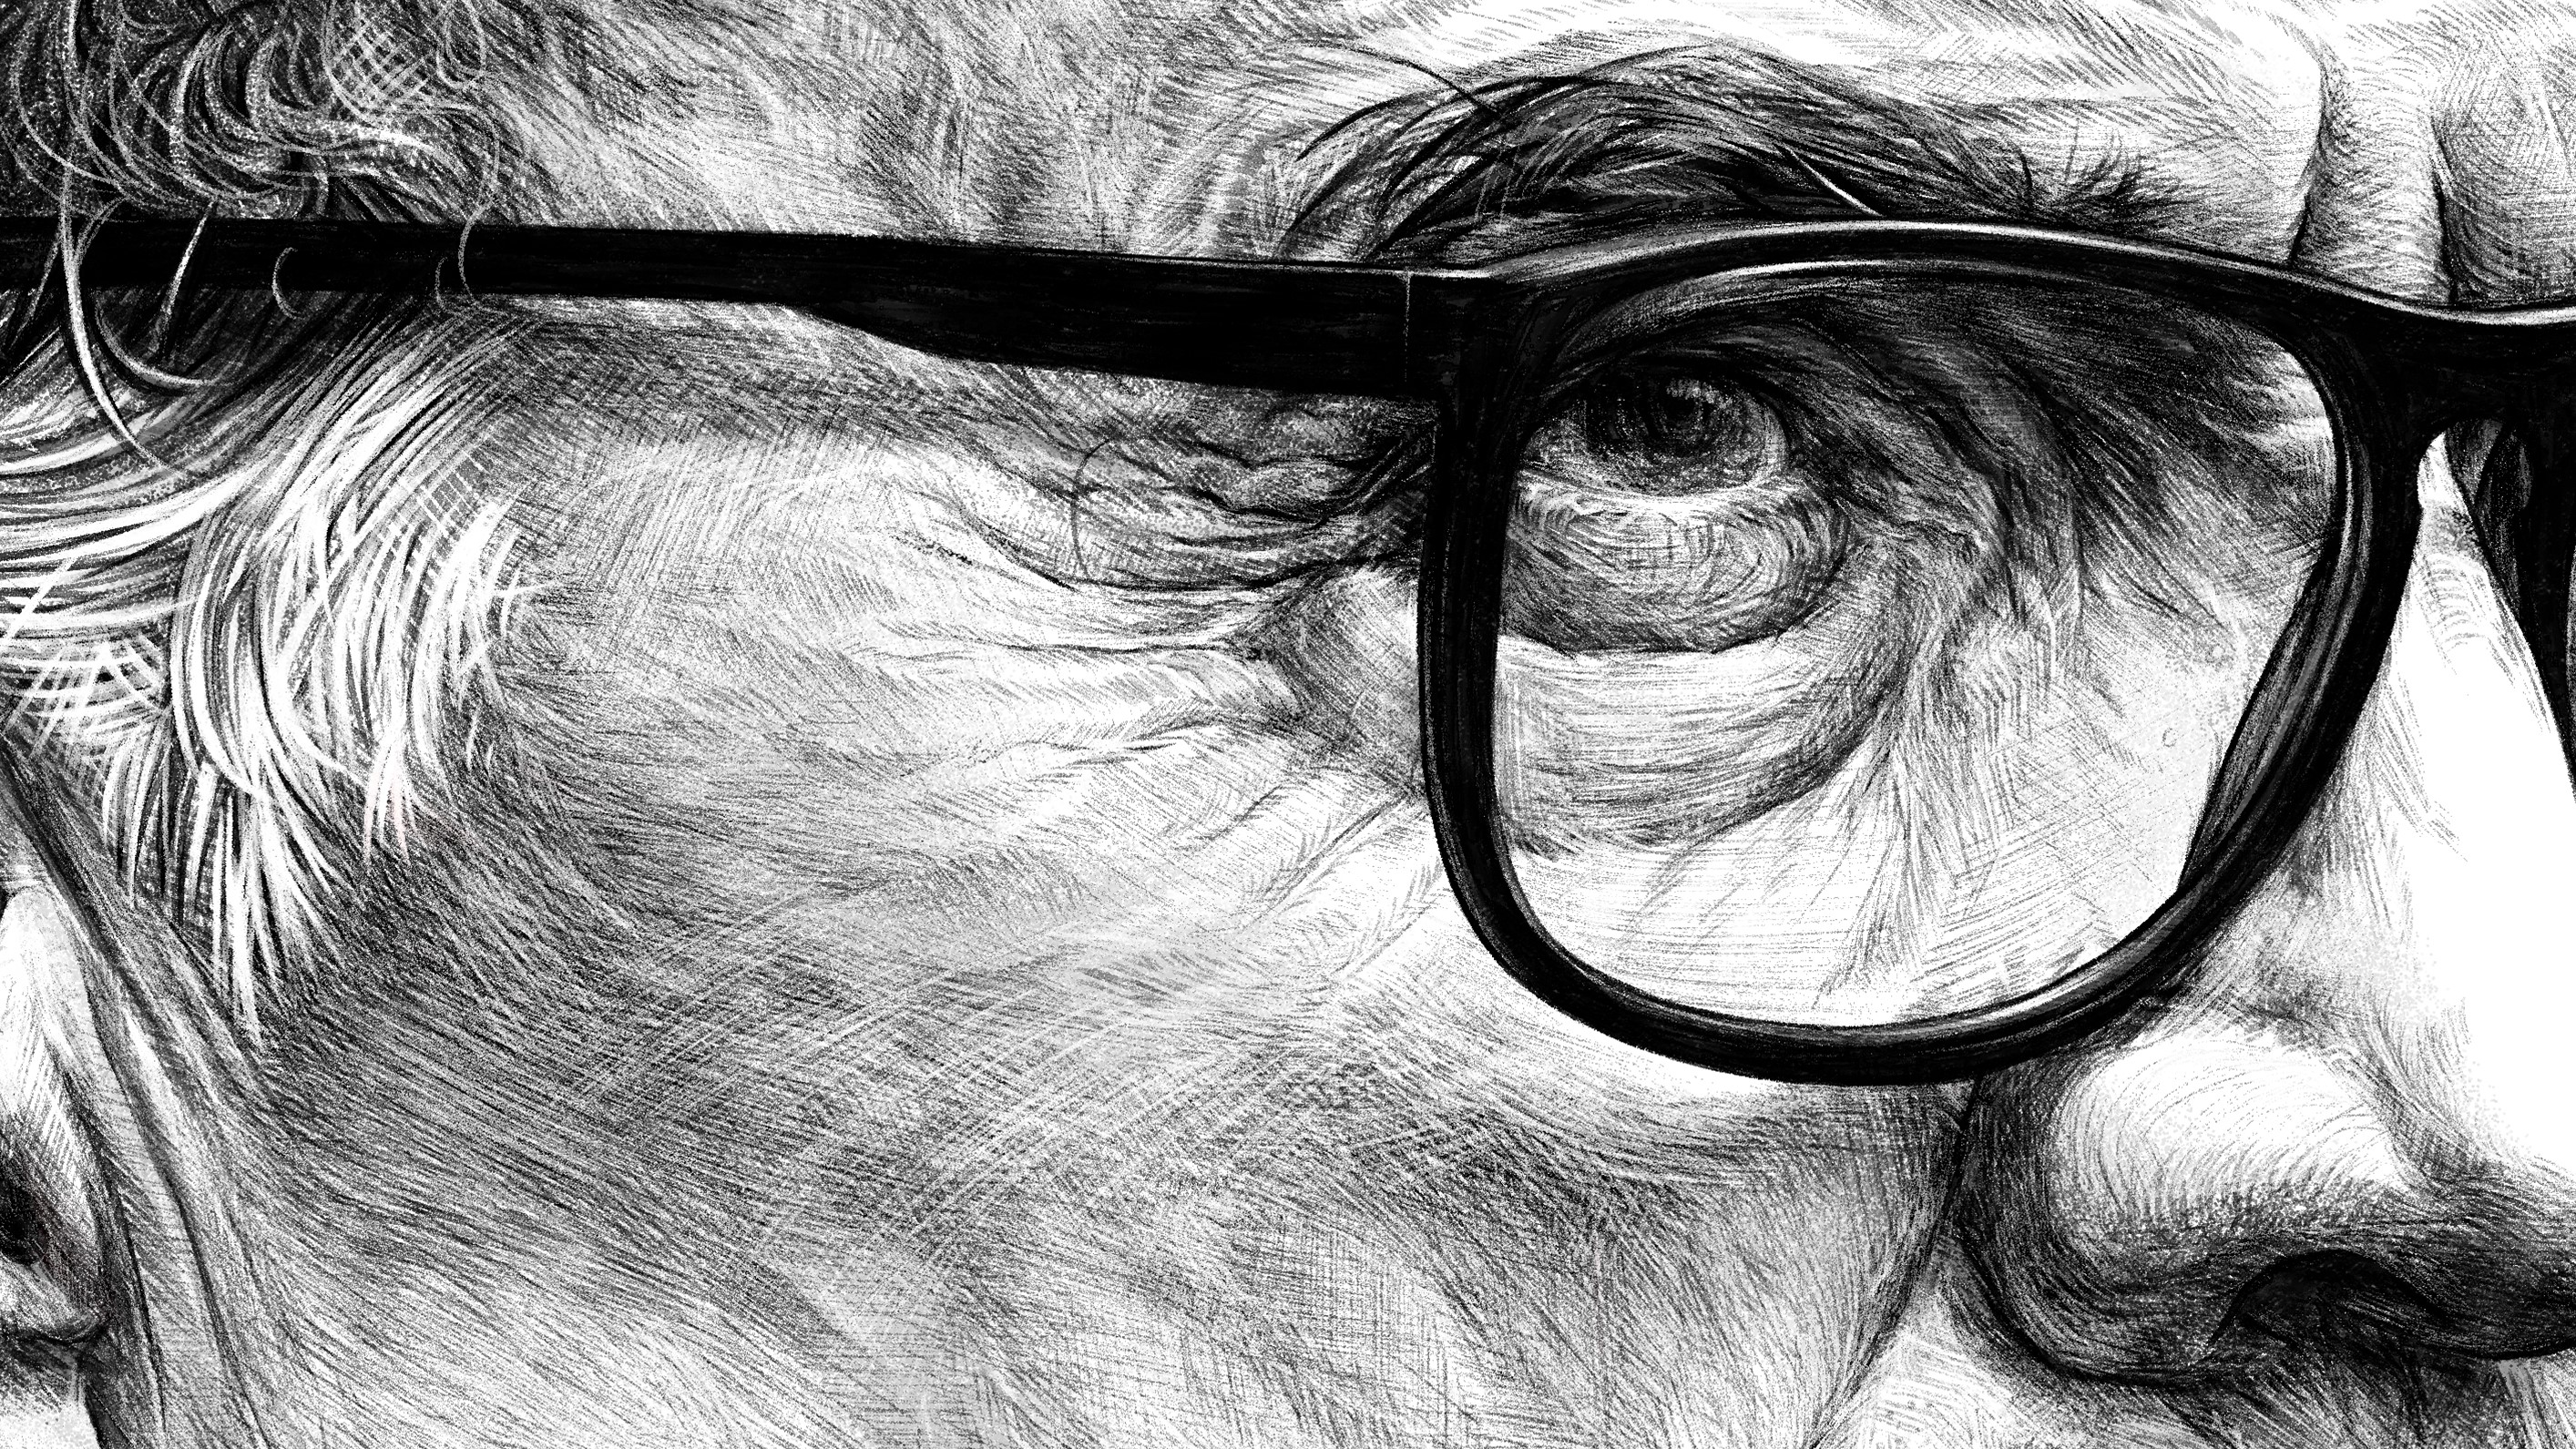
Result. If it sucks initially, just keep going.
It may end up sucking just that little bit less.
Only slightly.
¡ GIF !
Here’s a little tutorial on colouring finished black and white art.
It’s slightly different to the Kalvin process.